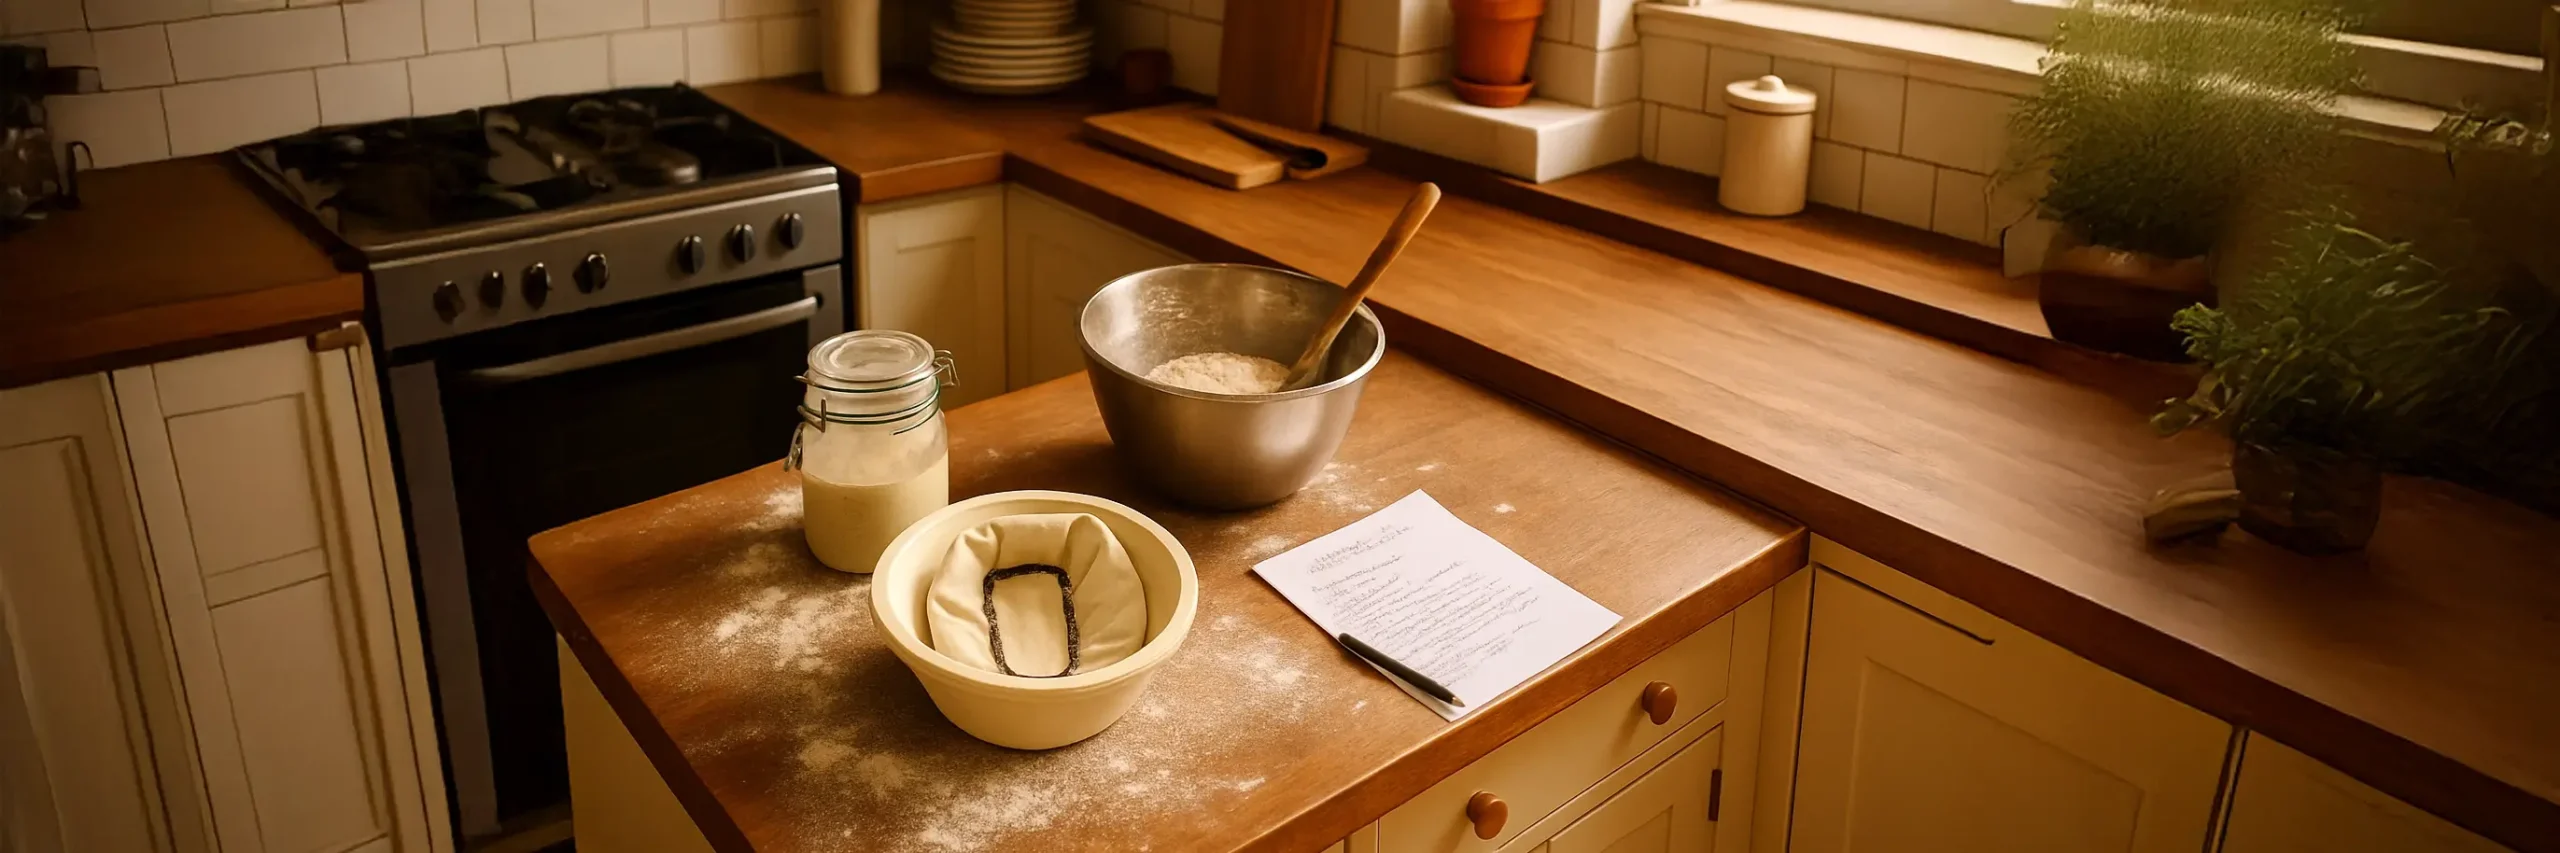
Introduction: Embarking on Your Sourdough Journey
If you’ve ever dreamed of baking crusty, aromatic sourdough in your own kitchen but didn’t know where to start, you’re in the right place. This guide is designed for absolute beginners: from understanding what sourdough is, to nurturing your starter, to finally pulling a gorgeous loaf from the oven.
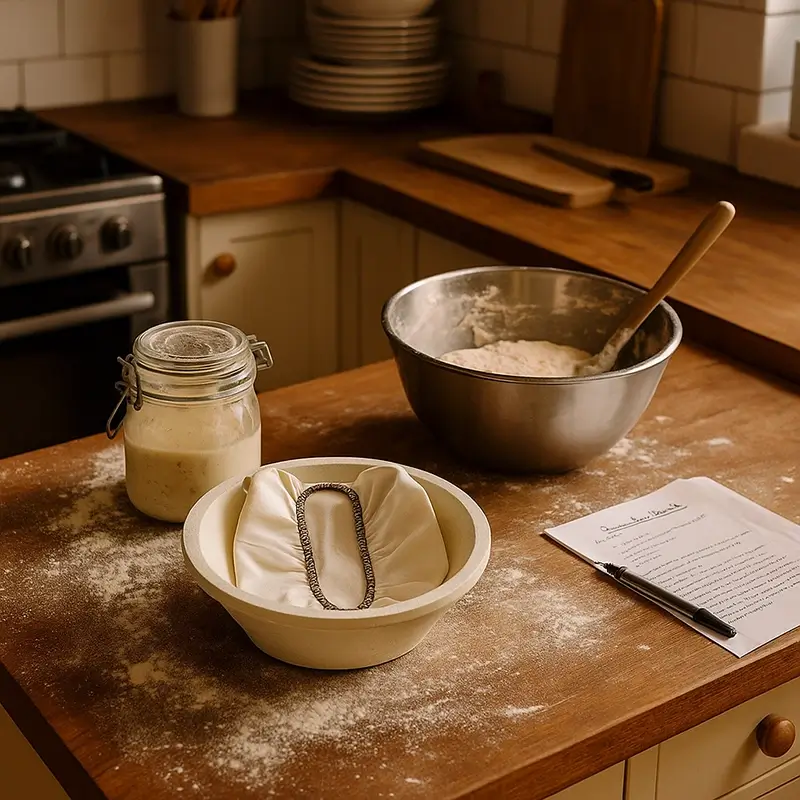
Along the way, we’ll introduce you to three indispensable products – our Wood pulp Banneton 500g bread round smooth, the Banneton Cleaning Brush, and the 0.5 kg Long/Round Banneton Cloth – and show you how they simplify each step of the process. By the end, you’ll have the confidence to bake bakery-worthy sourdough with ease.
Understanding Sourdough Basics
1. What Is Sourdough?
Sourdough isn’t just any bread; it’s made by fermenting a mixture of flour and water (called a “starter”) rather than relying on commercial yeast. Wild yeasts and lactic acid bacteria ferment the dough, giving sourdough its signature tang, open crumb, and chewy crust. Because you control the fermentation, you can tailor flavor, texture, and hydration to your taste. (Source: Wikipedia.)
2. Why Use the Right Tools?
Beginners often underestimate how much the right tools matter. Proper proofing baskets (bannetons), liners, and cleaning accessories ensure consistent shaping, even fermentation, and effortless upkeep.
A well-floured banneton helps your dough hold its shape during the final rise, the liner prevents sticking, and a dedicated brush keeps everything hygienic. Investing in good tools from the start saves frustration and helps you achieve beautiful, even loaves right away.
Why Start with Smaller Breads First
When you’re new to sourdough, it’s better to begin with smaller loaves (0.5 kg to 0.75 kg) rather than tackling a giant 2+ kg boule. Here’s why:
- Manageable Dough: Smaller dough balls are easier to handle when mixing, kneading, and shaping. You’ll develop your technique more quickly without wrestling with a heavy mass.
- Shorter Fermentation Times: A 0.5–0.75 kg loaf ferments faster, so you’ll see results (and learn from them) more quickly – perfect for adjusting hydration or timing next time.
- Less Waste: If something goes awry (overproofed, underdeveloped gluten, etc.), you’re only losing a small loaf. That keeps frustration low and motivation high.
- Consistent Heat Transfer: Smaller loaves bake more evenly in a home oven. You’ll avoid an underbaked center or excessively dark crust, common issues with large boules at first.
With this in mind, we recommend using our 0.5 kg and 0.75 kg bannetons – perfectly sized for beginner-friendly loaves that build your confidence. You have a variaty of shapes and designs to chose from.
Introducing Our Three Essential Products for Your Sourdough journey
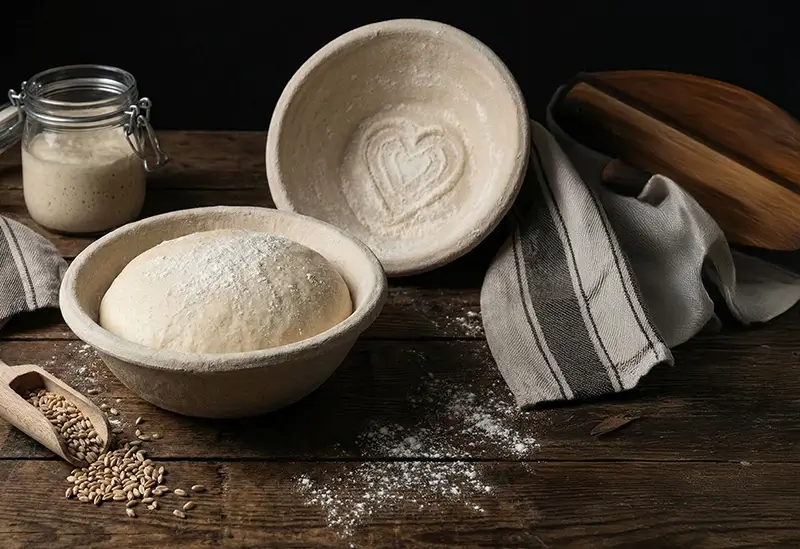
- German Craftsmanship: Hand-crafted from durable wood pulp, this basket balances tradition and engineering.
- Smooth Finish: The round, smooth interior gives your dough a refined pattern-free surface, ideal for a clean, minimalist loaf.
- Size: Holds up dough for perfect, crusty 500 g loaf of bread.

I. Pre-Use Seasoning:
- Preheat your oven to 170 °C (338 °F). Turn it off after 3 minutes.
- Place the banneton inside for 20 minutes (oven closed). Let it cool completely.
- Rub flour over the entire inside surface, then shake out excess. Store in a dry, ventilated spot, out of direct sunlight.
II. Regular Use:
- After bulk fermentation, let dough rest 30 minutes.
- Generously flour both dough and banneton interior before shaping to prevent sticking.
III. Cleaning & Storage:
- After baking, return banneton to a turned-off oven for residual heat to evaporate moisture.
- Use the Banneton Cleaning Brush (below) or similar tools to gently remove dough bits and flour buildup.
- Never wash with water or soap – moisture leads to mold.
- Always allow complete drying before storing.
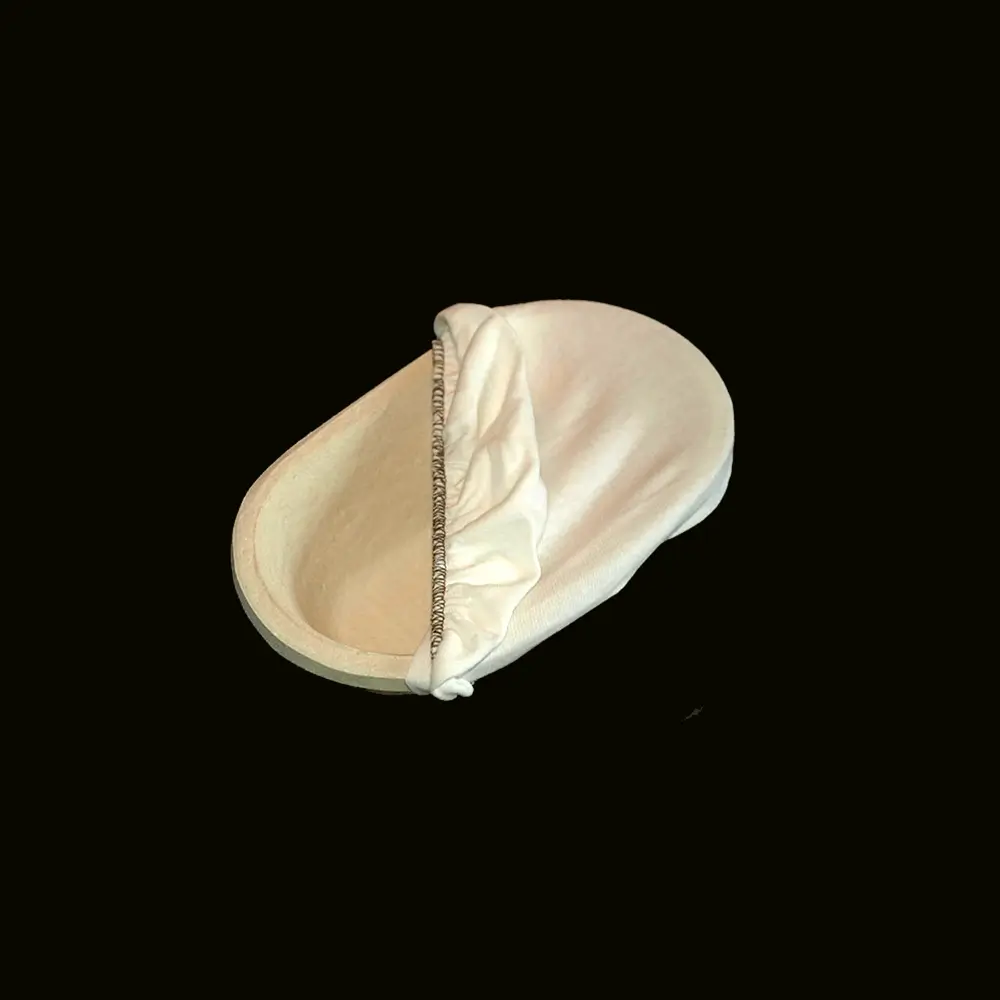
- Tailored Fit: Designed to line both round and long (oval) bannetons for doughs up to 500 g.
- Material: 100 % cotton – durable, washable, and dough-friendly.
- Consistent Crust: High-hydration doughs can form a dry or sticky skin when exposed to air. A breathable fabric wicks away excess surface moisture while allowing airflow, maintaining elasticity and preventing tearing. A cloth liner also provides a clean proofing surface, reducing odors and bacterial growth.

- Flouring: Before shaping, dust the cloth with ample flour so dough releases easily.
- Washing: Machine-wash at up to 90 °C (194 °F) if desired, though it’s unnecessary after every use.
- Ironing: Safe up to 175 °C (350 °F) to keep it crisp.
- Storage: Store folded in a dry cupboard when not in use. A clean liner is health food safe.
- Precision Cleaning: Soft yet durable bristles reach every crevice of your banneton’s ridges (especially if you ever switch to a rattan style).
- Ergonomic Handle: Reduces hand fatigue during cleaning.
- Versatile: Also cleans pizza stones, bread lames, and other accessories.
- German-Made Quality: Built to last through countless cleaning sessions.

- Cleaning the Brush: Rinse under warm water after use, then let it air-dry completely before stowing away.
- When to Clean: Ideally, clean your banneton immediately after use – while residual heat is present in your oven – to prevent dough residue from hardening.
Step-by-Step Beginner’s Guide to Your First Sourdough
I. Ingredients:
- Flour: Start simple - 50 % strong bread flour, 50 % whole wheat
- Water: Filtered or bottled, room temperature (about 20–22 °C).
- Salt: Sea salt or kosher salt (around 2 % of flour weight).
- Sourdough Starter: If you don’t have one yet, see Section 2 below.
You can use any type of flour, especially rye due to its specific taste.
II. Tools:
- Mixing bowl (size to accommodate doubling dough volume).
- Scale (accurate to ±1 g).
- Digital thermometer (optional, but helpful for water temperature).
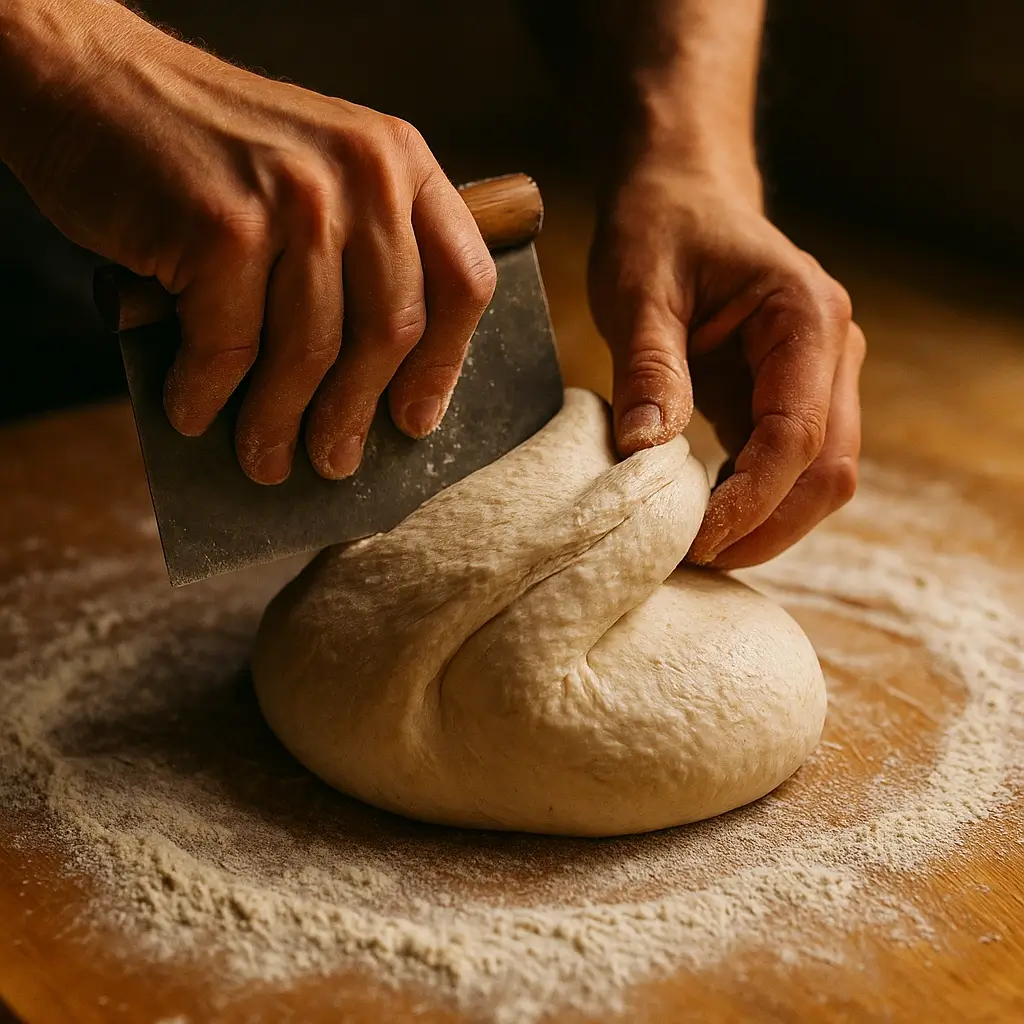
- Bench scraper.
- Wood Pulp Banneton 500g
- 0.5 kg Banneton Cloth (for the wood pulp basket).
- Banneton Cleaning Brush (for post-bake cleanup).
- Dutch oven or baking stone.
- Lame or sharp blade (for scoring).
- Oven mitts.
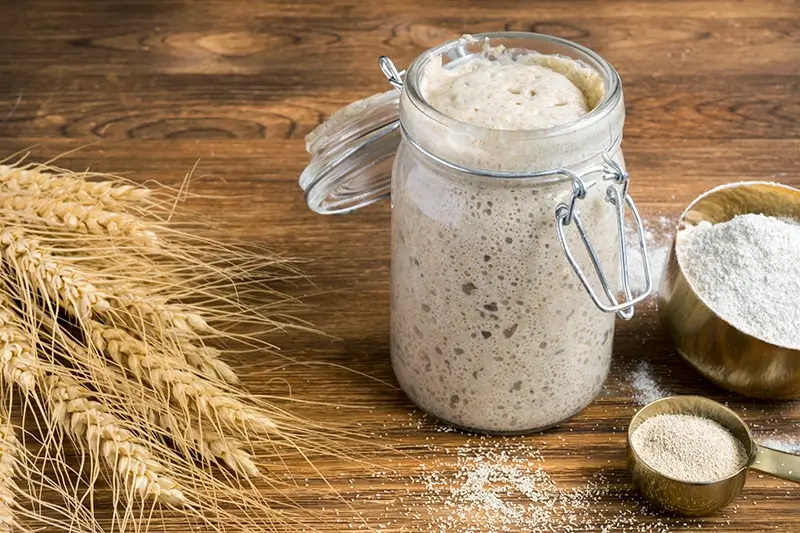
If you’re starting from scratch, you’ll need to build a starter over 5–7 days:
Day 1: In a clean jar, mix 50 g whole wheat flour with 50 g water. Stir until smooth. Cover loosely (with a cloth or lid ajar) and rest at room temperature.
Day 2–Day 5: Each morning and evening, discard half the starter (≈50 g), then feed with 50 g flour + 50 g water. Stir, cover, rest. Bubbles and a tangy aroma develop by Day 3 or 4.
Day 5–Day 7: When the starter doubles in volume within 4–6 hours of feeding and smells mildly tangy, it’s ready to bake with. Keep it in the fridge if you don’t bake daily; feed it weekly.
If you already have a mature starter, simply feed it 4–6 hours before mixing your dough (aim for peak activity – when it’s doubled).
I. Measure Ingredients (for a 500 g loaf, 100 % flour basis):
- 300 g bread flour (60 % hydration)
- 150 g whole wheat or rye flour (optional)
- 330 g water (66 % hydration; adjust ±5 % as you learn dough feel)
- 100 g active starter (20 % inoculation, stirred to deflate a bit)
- 10 g salt (2 % of flour weight).
II. Autolyse:
- In a large bowl, combine flour(s) and water until no dry patches remain.
- Cover and rest 30-60 minutes. This “autolyse” jump-starts gluten development and improves dough extensibility.
II. Add Starter & Salt:
- After autolyse, sprinkle salt evenly over the dough.
- Add your 100 g starter. Use a folding motion (pinch and fold) to integrate – don’t worry if the dough is shaggy. Cover and rest 30 minutes.
- Bulk Rise: This stage develops strength. At room temperature (20–22 °C), plan 3–4 hours, but watch your dough: it should rise about 25–50 % and show bubbles on the surface.
- Stretch & Fold Routine (every 30 minutes, 3–4 times total):
- With damp hands, reach under one side of the dough, gently stretch upward, then fold it over the top.
- Rotate the bowl 90°, repeat on each side (4 sides total).
- Cover and rest 30 minutes. This builds gluten without kneading, giving you an open, airy crumb.
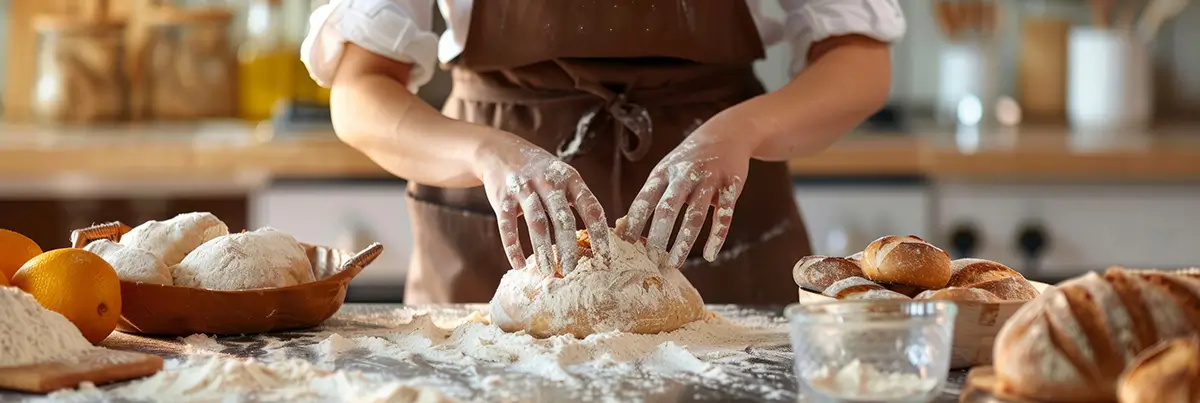
I. Pre-Shape:
- Lightly flour your work surface.
- Gently turn the dough onto the floured board, sprinkle a little flour on top, and fold edges into the center to form a rough round.
- Let it rest, seam-side up, for 20–30 minutes (bench rest). Cover with a cloth to prevent drying.
II. Final Shaping:
- After bench rest, sprinkle flour again.
- Flip the dough seam-side down. Use both hands to create surface tension: cup dough, dragging it gently toward you against the board, rotating 45° between drags.
- Form a tight ball (for a round loaf) or an oval (for a batard).
III. Prepare Your Banneton:
- Generously flour the 0.5 kg Banneton Cloth, ensuring full coverage – cornmeal or rice flour can be added to prevent sticking.
- Place the lined cloth inside your 500 g Wood Pulp Proofing Basket.
- Carefully transfer shaped dough (seam-side up) into the banneton. Pat flour on top if needed.
- Cover the dough and banneton with the 0,5 kg Long/Round Banneton Cloth. A breathable fabric wicks away excess surface moisture while allowing airflow, maintaining elasticity and preventing tearing. A cloth liner also provides a clean proofing surface, reducing odors and bacterial growth.
- Proof at 20–22°C for 2–3 hours, or until dough feels noticeably airy and slightly jiggly when you shake the basket.
- Be careful - overproofing can cause collapse or an excessively sour flavor.
I. Preheat Oven:
- Place your Dutch oven (or baking stone + steam tray) in the oven. Preheat to 250°C (482°F) for at least 30 minutes.
II. Transfer Dough:
- Flour your countertop lightly. Invert banneton onto a floured parchment paper or directly onto a peel if using a stone. The dough should land seam-side down.
- After you have used your banneton please clean it and dry it. You can read more in this article: How to Use a Wood Pulp Banneton.
III. Score:
- Use a sharp lame or razor blade to score (1-2 cm deep). A simple cross or single slash is fine for beginners – this controls where your loaf “ears” open.
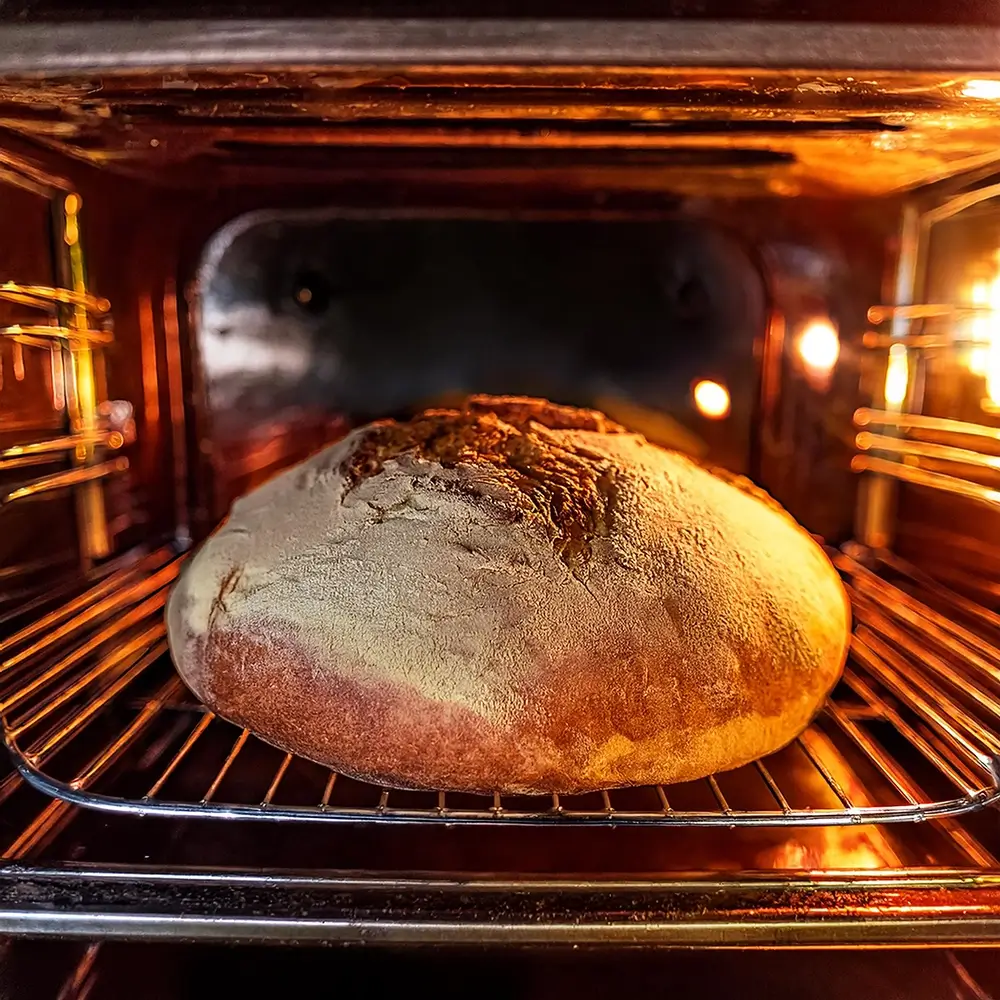
IV. The Bake:
If using a Dutch oven: carefully remove the hot lid, place the dough inside, put the lid on, and bake at 250°C for 20 minutes (steam trapped).
After 20 minutes, remove the lid, reduce temperature to 230°C (446°F), and bake another 15–20 minutes until crust is deep golden brown.
If using a stone: slide dough onto the stone, add a cup of hot water to the steam tray or mist the oven walls with water. Follow timing above but watch color closely.
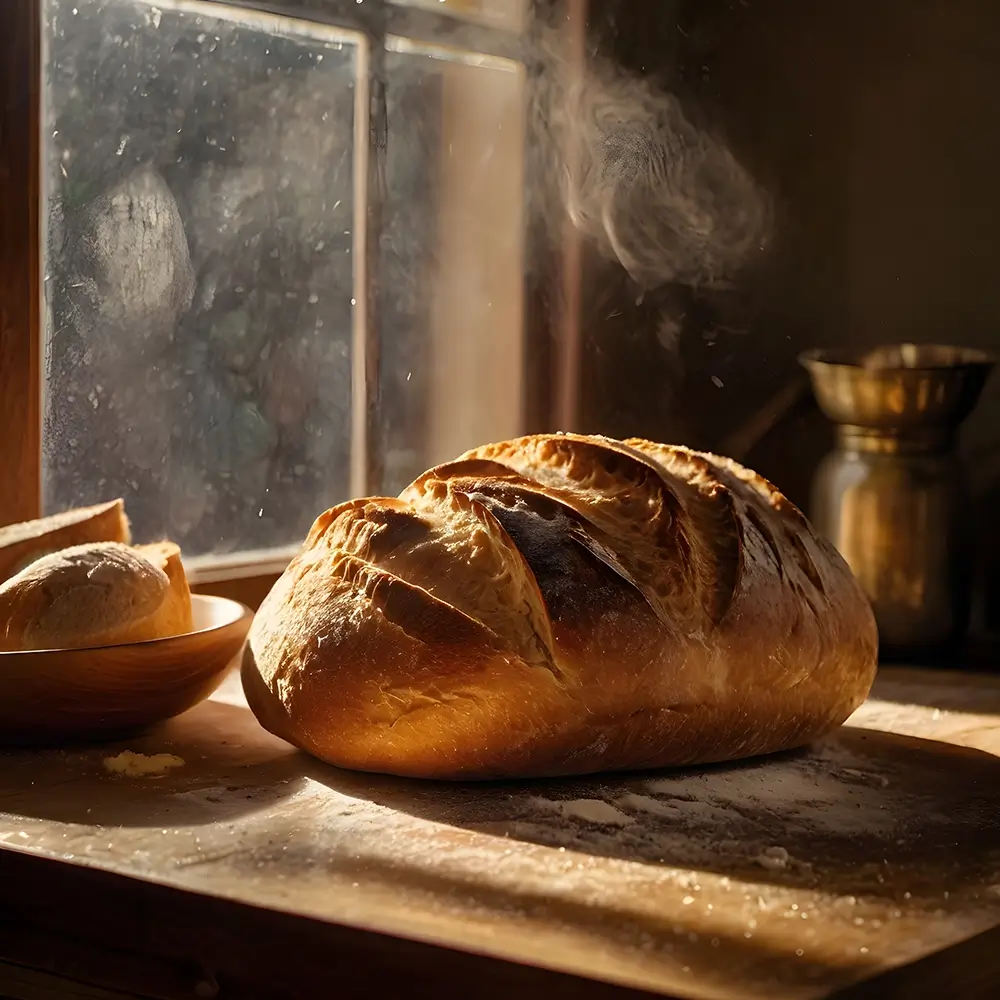
V. Colling the bread:
Once baked, remove loaf and place on a wire rack. Allow it to cool at least 1 hour before slicing. This final rest lets the crumb set, preventing gummy texture.
Dense Crumb: Likely underproofed or insufficient gluten development. Ensure you complete stretch-and-folds and allow enough time for bulk fermentation.
Sticky Dough: Increase flour slightly during shaping, or let dough rest longer in autolyse. Use plenty of flour on banneton surface.
Overproofed Dough: Dough collapses or deflates easily. Shorten room-temp proof by checking more frequently; consider always refrigerating overnight for control.
Sticking to Banneton: Flour the cloth heavily, shake out excess, and dust dough’s surface with extra flour before placing in banneton. If sticking persists, sprinkle rice flour – they’re super fine and non-absorbent.
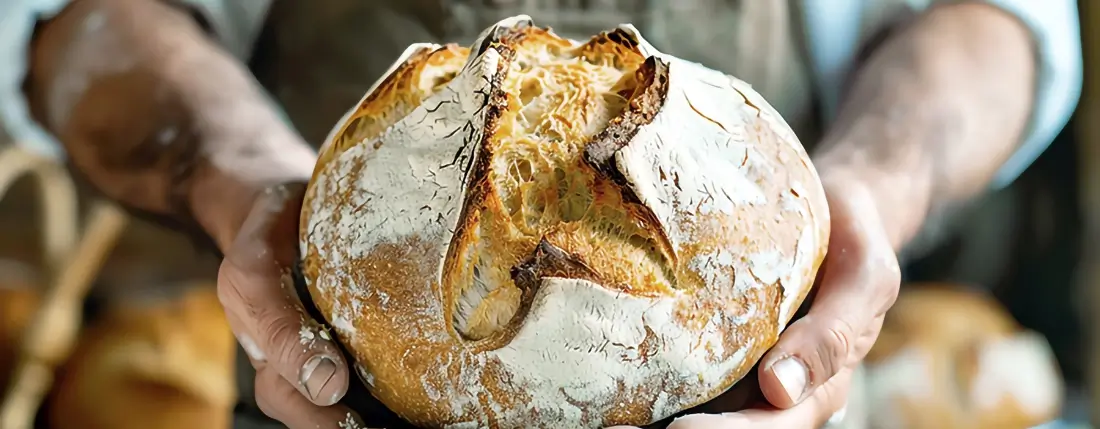
Baking sourdough is an endlessly rewarding journey. As a beginner, you’ll make mistakes – perhaps a loaf that’s too flat or a crust that’s too pale. But with practice, you’ll learn to read your dough’s cues and fine-tune hydration, fermentation time, and shaping technique.
Our Wood Pulp Bannetons, Banneton Cleaning Brushes, and Banneton Cloth become your trusted allies, ensuring your dough proofs perfectly and your products last for countless loaves.
Starting with smaller 0.5 – 0.75 kg loaves lets you build skills quickly, shorten feedback loops, and minimize waste.
Once you’ve mastered these, you can scale up to 1 kg and beyond – with confidence that your tools and technique will support you.
Embrace patience, enjoy the process, and celebrate each crackling loaf that emerges from your oven. Happy baking!